Subversion is a modern source revision control software, a very useful utility for a developer to easily keep track of changes in source code. Subversion runs as a server, either directly through svnserve, or as a module in the Apache web server.
Subversion is open source and runs on Windows, Linux, Mac OS X and more.
Homepage is here.
TortoiseSVN is a Windows client to Subversion shell extension, integrating Subversion features directly into the Windows Explorer.
Homepage is here.
As I am developing under the Windows platform mostly, and working with web development, I have been frustrated in the past for the lack of Apache 2.2 support in the 1.3 branch of Subversion. But behold! A new shiny feature of the 1.4 branch is the svnserve, which will now run natively as a Windows service.
Now I can simply run Subversion as a separate server, and as a side effect I can upgrade to Apache 2.2.3 on my development box.
Here's a quick rundown in how to install Subversion 1.4.0 and TortoiseSVN under Windows.
1. Installing Subversion
Download svn-1.4.0-setup.exe from here.
Install Subversion to D:\SVN
2. Create a repository (Read more here).
D:\SVN\bin>svnadmin create D:\SVN\reposThis will create a repository in the directory D:\SVN\repos (the directory will also be created).
In this setup, I will use only one "root repository", and place my projects as subdirectories under this repository. There are other ways to configure multiple repositories if you prefer.
3. Configure user access to the repository
Edit D:\SVN\repos\conf\svnserve.conf:
[general]This will block anonymous read access, and allow write access to the users specified in the "passwd" file.
anon-access = none
auth-access = write
password-db = passwd
realm = webroot repository
Edit D:\SVN\repos\conf\passwd:
[users]This will allow the user "martin" write access using the password "test123"
martin = test123
4. Import directory into the newly created repository
D:\SVN\bin>svn import D:\webroot file:///d:/SVN/repos/webroot -m "initial import"This will import D:\webroot and all subdirectories into the repository in the subdirectory "webroot", notice that I don't import this directly under the root directory. We will later be able to easily import different projects at the same directory level (ie file:///d:/SVN/repos/otherproject)
5. Install the svnserve Windows Service
C:\>sc create SVN binpath= "D:\SVN\bin\svnserve.exe --service --root D:\SVN\repos --listen-port 48000" displayname= "Subversion" depend= Tcpip start= autoThe syntax is a little wierd, I know. The whitespace after = is required by the SC tool.
[SC] CreateService SUCCESS
6. Starting and stopping the service
You can now start and stop the service as any other Windows service:
C:\>net start svn
The Subversion service is starting.
The Subversion service was started successfully.
C:\>net stop svn
The Subversion service is stopping.
The Subversion service was stopped successfully.
7. Uninstalling the service
C:\>net stop svn
The Subversion service is stopping.
The Subversion service was stopped successfully.
C:\>sc delete SVN
[SC] DeleteService SUCCESS
8. Install TortoiseSVN
Download TortoiseSVN-1.4.0.7501-win32-svn-1.4.0.msi (or newer) from here.
Install & reboot machine.
Choose to what directory to import the repository, and make sure the directory is empty.
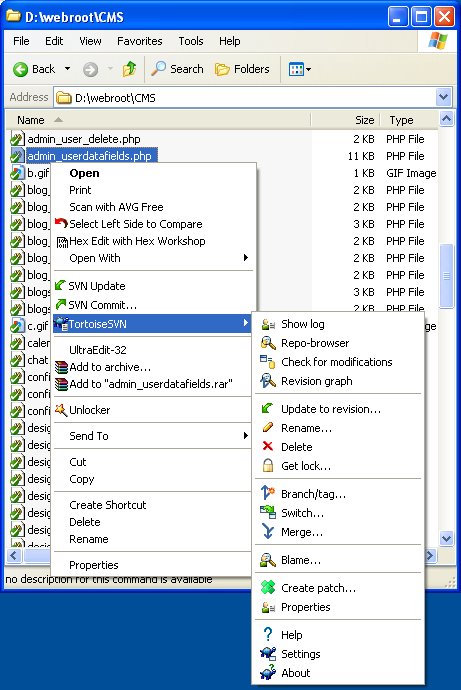
Right click on the directory, in my example D:\webroot
Select SVN Checkout
In URL of repository, type: svn://localhost:48000/webroot
You will now be presented with a user authentication dialog box. Enter your username and password here and let the program remember your settings.

14 comments:
thanx, this was really helpfull
10x - this article saved a lot of my life
Ranga Tirumalaseti
Simple and more informative.
Ranga Tirumalaseti
Simple and more informative.
Very helpful, thanks Martin.
It was really helpful, saved much time. Thanks Martin.
Excellent... great work, mate.
Saved me loads of stupid GUI based downloading...
Plus, FFMPEG is really fast.
Great!
Easy and simple
Thanks! This made it real easy.
Cheers!
Take a look at AnkhSVN for managing your repository from Visual Studio. Works great
hi thanks for ur expalnation it was very useful i have follwed all the steps till the last step..but when i try to add folder in to the webroot folder its trowing error "Authentication failed" can u provide me the solution for this pls...
Hi,
i am getting below the error.
Berkeley DB error for filesystem E:/SubversionRepository/db while opening 'nodes' table:No such file or directory.
How to fix this.please help me.
Thanks,
Velmurugan.
Very helpful & easy to follow.
Thanks
Post a Comment